Allumer sa tablette sur détection de mouvement

Nombreux sont ceux qui utilisent leur tablette pour piloter leur domotique. Seulement voilà, il faut réveiller la tablette pour accéder à son contenu, et pour les fainéants comme nous, c’est une manipulation de trop. Le sujet étant venu sur le tapis sur Google+, j’ai décidé d’écrire ce petit tuto en guise d’aide-mémoire, le but étant d’utiliser la caméra en façade de la tablette pour la réveiller automatiquement lorsqu’on s’en approche :

Vous aurez besoin de Motion Detector et de Secure settings.

Configuration de Motion detector :

Il vous faudra régler 2 choses dans motion detector : activer l’envoi de notification et la sensibilité.

image image image

En réglant la sensibilité et la résolution comme je l’ai fait, la portée de détection se limite à environ 50cm, ce qui est suffisant pour moi. En augmentant la sensibilité et la résolution, vous augmenterez la portée et la tablette se réveillera plus souvent.

Vous l’aurez compris, Motion detector utilise la caméra frontale de la tablette et enverra une notification à Tasker pour réveiller la tablette.

Vient ensuite la partie Tasker, très simple.

On crée un événement/système/intent received et on indique la commande envoyée par Motion detector :

image

… et enfin on indique la tâche qui va réveiller la tablette par le biais de secure settings :

Nouvelle tâche/plugin/secure settings, puis configurer secure settings de la façon suivante : actions/wake device/bright screen et précisez la durée de réveil que vous voulez :

image

Voilà, c’est terminé, il ne vous reste qu’à peaufiner les réglages de sensibilité s’ils ne vous conviennent pas. Le système a tout de même une limitation, il ne fonctionne pas dans le noir… Mais rien ne vous empêche, par le biais de votre box domotique et d’un détecteur de mouvement (type Fibaro Motion Sensor) d’envoyer une commande à Tasker pour supplanter Motion detector.


source : http://mapetitedomotique.tumblr.com/

14 – Marathon de New-York (2015)

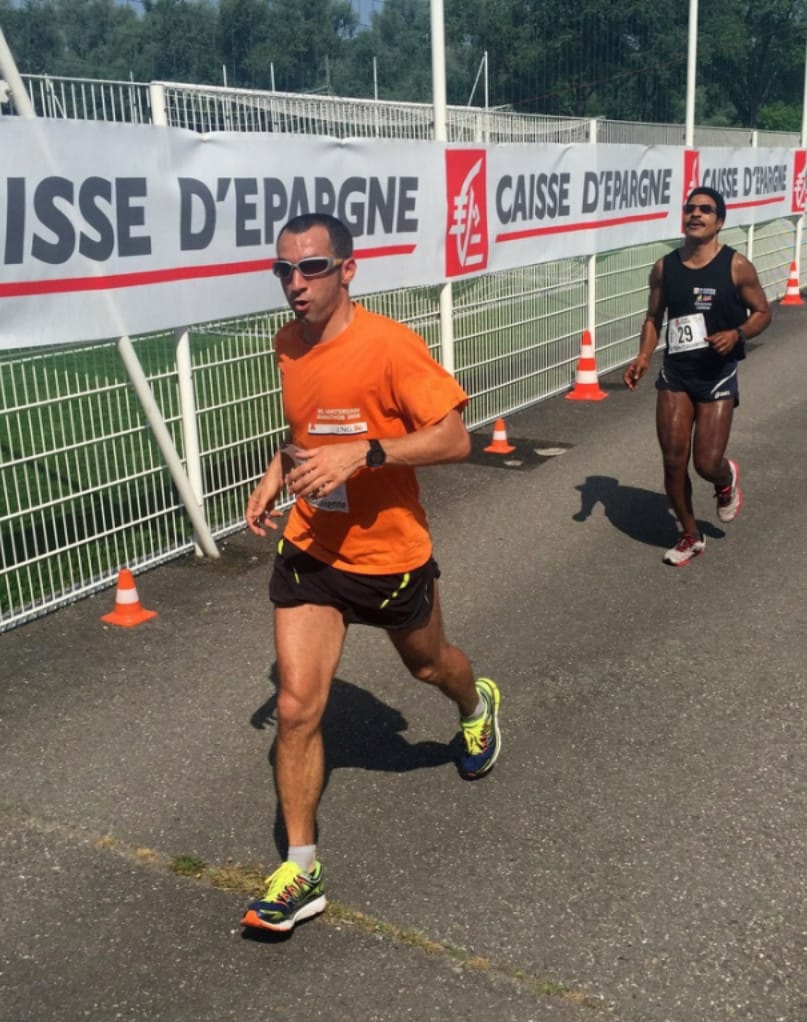
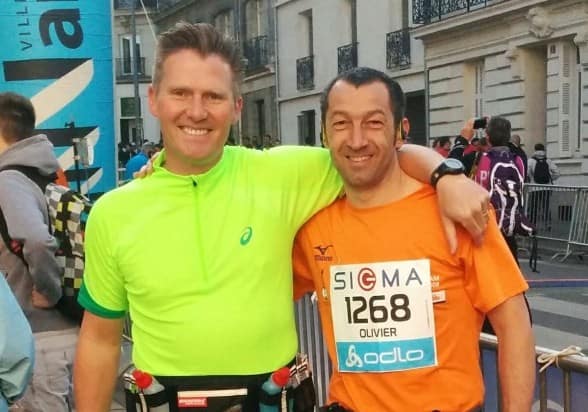
14ème marathon : 3:35:04 : classement  5422/49589

Pour un tel événement, la course ne se limite pas au simple fait de se présenter au départ, de faire son effort et de repartir satisfait ensuite, loin de là. La veille de la course le mental est prêt ou devrait l’être, la préparation a été faite dans les règles, l’esprit est en confiance, l’organisme est prêt. Le traditionnel repas de pâtes se déroule avec l’ensemble de notre troupe dans un restaurant italien juste à côté de notre hôtel, qui lui se situe non loi de Time Square. Endroit idéal. peu d’effort à fournir pour y aller et cadre agréable. Personne ne demande son reste et c’est fort logiquement que nous allons tous nous coucher tôt ce soir. Les préparatifs dans la chambre, chacun avec sa méthode….musique, stress, décontraction, boutade tout ou presque y passe. La lumière s’éteint enfin, la nuit doit être récupératrice …. elle n’en fut rien en tous les cas pour moi. Entre Manu qui « écrase » comme un ours et Pierre qui souffle comme une baleine, j’ai choisi de me coucher par terre en me bouchant les oreilles pour arriver à dormir un peu, car, bien sur j’avais bien tenté de siffler, de bouger leur lit…rien à faire. Le réveil sonne enfin…peu de sommeil mais une vrai délivrance d’arriver enfin au lever du soleil. Ha oui, il est 5h30….le petit déjeuner est prévu léger et à 6h00 avec un départ en bus à 6h30. Il faut le temps de nous emmener sur place….

QUITEMPS NEW-YORK
Olivier03:35:04
Manu04:00:51
Pierre04:12:51
Laurent04:33:46
Stéphane04:38:29
David05:02:00

[slideshowck id=2493]


tasker auto mph bis

Tasker Auto-Respond to SMS

I’ve used Tasker for a while, but just recently I decided to try out some profiles from others.   One cool profile that I found is the profile to automatically reply to an SMS message when driving.   But it requires a little bit of work to get it to actually function.   So here’s the steps I took to get it to work.  Keep in mind that I’m currently running the Cyanogen mod, so some of these steps may work out of the box for you if you’re running a stock ROM.

  1. Download the profile from the Tasker Wiki here: http://tasker.wikidot.com/autorespondwhiledriving
  2. Notice that this profile is looking for a task called “Convert_LOCSPD_MPH”.  This task basically sets the variable that converts the speed to MPH.  So we’ll have to create that.
  3. Click “Tasks”
  4. Click “New Task +”
  5. Give your task a name.  For mine, I used “ConvertMPH” just because it’s simple to know that’s what it does.
  6. Click the “+” in the task to add a new action.
  7. Click “Variable”
  8. Click “Variable Set”
  9. In the “Name” field, type %LOCSPDMPH
  10. In the “To” field, type %LOCSPD * 2.23693629
  11. Check the “Do Maths” checkbox
  12. Click “Done” to save changes to the action
  13. Click “Done” to save your task
  14. OK, now the task is created.  Let’s go plug it into the profile.
  15. Open the “Received Text” profile
  16. Click the “Auto Respond (If Driving)” task
  17. Click “Edit”
  18. For whatever reason, simply re-linking the “Perform Task” action didn’t work for me.  I kept getting an error that said the task doesn’t exist when trying to test it.  So I had to delete it and re-create it to get it to work.
  19. Long-click on the “Perform Task” with the name “Convert_LOCSPD_MPH” and then drag it to the trash can.   This will delete that action, but we’ll want to recreate it.
  20. Click the “+” icon to add a new action.
  21. Click “Tasker”
  22. Click “Perform Task”
  23. Above the “Name” field you’ll see a magnifying glass.  Click this and then choose the task you just created a little bit ago.   For me, it was the “ConvertMPH” task.
  24. Click “Done” to save your action.
  25. Now long-click on the “Perform Task” action and then move it above the “Send SMS” actions.
  26. So the final order of the actions are: 1) Goto Action 2) GPS 3) Get Location 4) Perform Task 5) Send SMS
  27. Click “Done” to save your task

OK so the task is all set up.  Now to test it.  How can you test it without actually driving, though?  Well, we can actually take out the variable that checks the speed to test it.  Before you do this, though, send yourself a text message because this task will automatically reply to whomever the last person who text’d you.  So if you don’t send yourself a text message then whomever sent you a text message last will get an auto-reply from you.
Once you’ve sent yourself a text message, go back to Tasker and open up the “Auto Respond (If Driving)” task under the “Received Text” profile.

Open up the “Send SMS” action (should be number 5).  Scroll down and you’ll find an IF statement that says %LOCSPDMPH > 5.  Basically that means that this will only send an SMS if the GPS reports that you’re going greater than 5 MPH.  So to test this, simply uncheck the checkbox to the right of “If” to turn off that if statement.   Note: In here is where you can choose to store the SMS in your messaging app (if you want to see it in your sent folder of your SMS application as well as change the text of the actual SMS message as well.  But if you’re running a test, don’t make any changes yet.  Make sure it works first and then come back and change the text if that’s what you want to do.
Once the “If” statement is disabled, click “Done” to save the action.  Then click the “Test” button on the task.  Once you click “Test” you’ll notice a “Kill All” button that shows up to the left of “Test”.  That means Tasker is working to run the task.   Wait for the “Kill All” button to go away.  Once it goes away, click “Cancel” to close out of the task.   If you click “Done” it will save your changes and you’ll have to go back in to add the if statement again.
That’s it!  You should now have a new text message that says something to the effect of:

(Auto) Texting and driving is dangerous.  I’m currently driving (at 0 MPH).  Will respond to you when I can safely.

By the way, the 0 MPH isn’t anything to worry about since this is just a test and quite obviously as you’re testing this you’re not going to be actually driving.  🙂

Tasker auto mph

I pulled this profile setup from the Wiki [http://tasker.wikidot.com/
autorespondwhiledriving] and I couldn’t figure out exactly how to
setup the MPH conversion–I finally did:

Auto Respond While Driving
Download

This profile will automatically respond to any received SMS when you
are driving (or moving).

How it works.
Upon receiving a text the phone will check if it is near WiFi, this
prevents the phone from grabbing GPS Locations if you are sitting at
home/office, the task checks to see if your GPS is enabled (if not, it
will enable it) then grabs your current location. It will only respond
to the text if your speed is faster than 5 mph. There is an additional
task to convert the %LOCSPD from m/s to MPH and sets variable
%LOCSPDMPH.

Need to create an additional task.
This profile calls another task called « Convert_LOCSPD_MPH. » You will
need to create that. The task is simply a « Variable Set » of variable
%LOCSPDMPH, set that to %LOCSPD * 2.23693629. Select the « Do Maths »
option. This makes it easier to know how fast you are going.

Near WiFi
One of the conditions for the profile is to see if you are close to
your home/office WiFi. This prevents unnecessary GPS Location lookups
if you are sitting at home. THIS IS SET TO MY HOME’S SSID You should
modify (for your home/office) or remove the condition.

SMS to Send
This is currently set to: « (Auto) Texting and driving is dangerous.
I’m currently driving (at %LOCSPDMPH MPH). Will respond to you when I
can safely. »

You can modify if you like. Watch out if you are a speeder!

After you import this profile from the Tasker Wiki, all you have to do
is this:

Open Tasker and press the Tasks button at the bottom of the screen.
Select New Task at the top of the popup.
Name the new task « Convert_LOCSPD_MPH » (without quotations)
Select the « + » to enter an action
Select Variable
Select Variable Set
Name the Variable Set: %LOCSPDMPH
In the « To » field enter: %LOCSPD*2.23693629 (there should be no
spaces)
Put a check mark in the « Do Maths » box
Select « Done » to save your action
You should be done. Now to test:

Send yourself an SMS Message so the following test applies to you and
not the last person who texted you.
Open your imported Tasker profile and edit the Auto Respond (If
Driving) task.
Select action number 5, the Send SMS action.
Uncheck the « If » condition at the bottom of the action and select Done
to close the window.
On the next screen, select Test, wait for the Kill All button to
disappear, then hit cancel (so you don’t have to go back and check the
if condition–it’ll already be checked because you cancelled instead
of saved).
Wait for your message to appear–your message should state you’re
traveling at 0 MPH.

Tasket auto

Auto Respond While Driving

Download

This profile will automatically respond to any received SMS when you are driving (or moving).

How it works.
Upon receiving a text the phone will check if it is near WiFi, this prevents the phone from doing grabbing GPS Locations if you are sitting at home/office, the task checks to see if your GPS is enabled (if not, it will enable it) then grabs your current location. It will only respond to the text if your speed is faster than 5 mph. There is an additional task to convert the %LOCSPD from m/s to MPH and sets variable %LOCSPDMPH.

Need to create an additional task.
This profile calls another task called « Convert_LOCSPD_MPH. » You will need to create that. The task is simply a « Variable Set » of variable %LOCSPDMPH, set that to %LOCSPD*2.23693629. Select the « Do Maths » option. This makes it easier to know how fast you are going. There should be no spaces in the formula.

Options
Near WiFi
One of the conditions for the profile is to see if you are close to your home/office WiFi. This prevents unnecessary GPS Location lookups if you are sitting at home. THIS IS SET TO MY HOME’S SSID You should modify (for your home/office) or remove the condition.

SMS to Send
This is currently set to: « (Auto) Texting and driving is dangerous. I’m currently driving (at %LOCSPDMPH MPH). Will respond to you when I can safely. »

You can modify if you like. Watch out if you are a speeder! 🙂

Question How can I stop this profile from replying to Facebook notifications?

One way is to change the « Received Text » from « Any » to « Any Favorite Contact »

– Any (phone book) contact rather than any favourite contact C:ANY

– Manage a list of exceptions: %EXCEPTIONS = 111/222/333/444/555
Reply to SMS *IF %CNUM DOESN’T MATCH %EXCEPTIONS

– Facebook messages come from special numbers so only reply to SMS *IF %CNUM MATCHES 07*/+44* (for mobile numbers in the UK)

I have tried this setup and have found an issue with it not registering your correct speed, it always comes in at 0mph for the first few scans, then is gets the correct speed, I have tried all sorts of methods to correct this with no luck Galaxy S3

– The only way this profile worked for me was to edit the included action ‘auto respond (if driving)’ as such:
1 Get location
2 Variable Set — MPH conversion (see above)
3 Send SMSRF
In other words, rather than create a new task as stated above, insert the Variable Set into included task called ‘auto respond (if driving)’.

I also removed the check whether GPS is on as I leave mine on.

– Is it possible to show my speed without decimals? i.e. ‘57.989 MPH’ which looks odd?

http://tasker.wikidot.com/autorespondwhiledriving

Mon programme d’entrainement marathon

Ce plan est issu du très bon site athlete-endurance

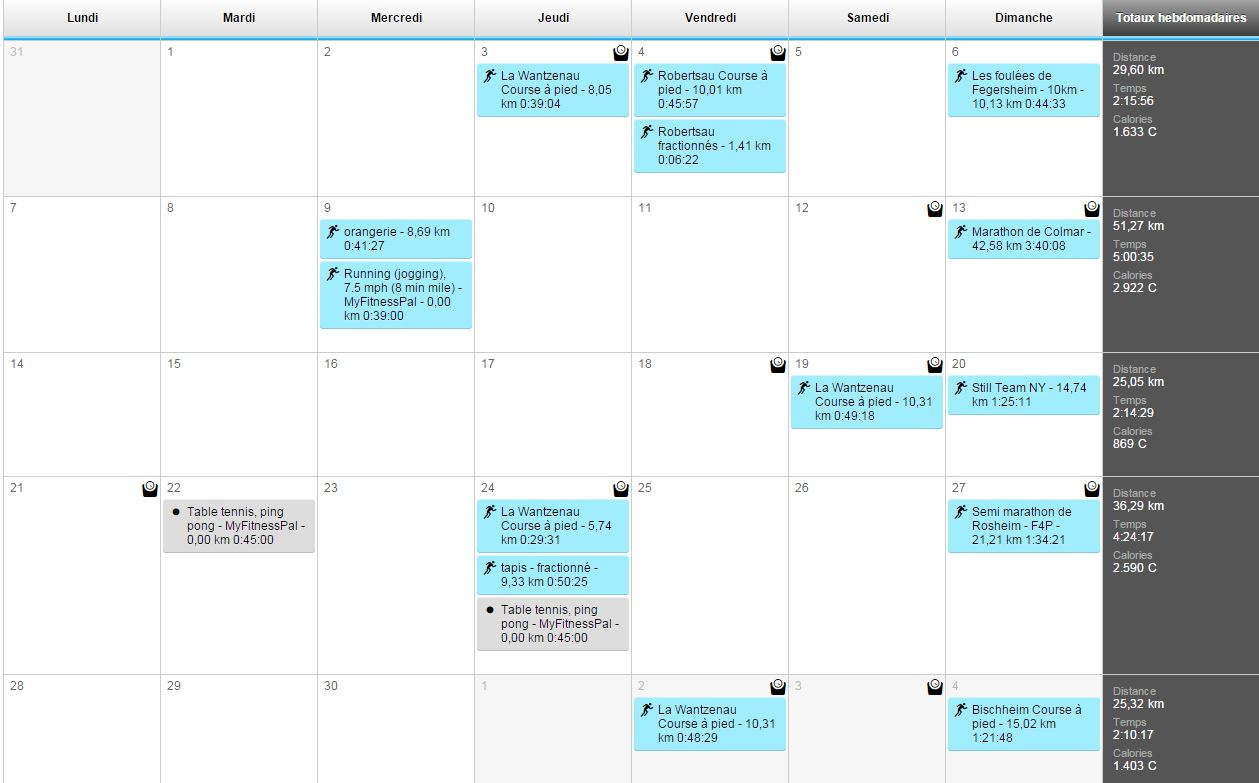
J’ai suivi ce plan pour tous mes marathons. Le fait d’étaler cette préparation sur 12 semaines m’a toujours permis de terminer dans des conditions correctes, selon mon assiduité bien sur. Il m’a aussi permis de « rater » l’une ou l’autre séances sans que cela n’ai un trop grand impact sur la compétition, l’organisation du quotidien étant par moments contraignante. (et puis…y a pas que la course à pied non plus :-))

Avant d’attaquer ce plan, faites un test de VMA si le dernier date de plus de 3 mois

Plan entrainement marathon 3 séances,12 semaines, VMA  inf. 18km/h

Semaine 1 :

  • Jour 1 : 45’ footing
  • Jour 2 : 30’ footing + 6 x 200m (100% VMA), récup 45’’ footing
  • Jour 3 : 1h footing + 15’ (en accélérant progressivement de l’allure footing pour finir à 85 % de la VMA) + 10’ footing

 Semaine 2 :

  • Jour 1 : 45’ footing
  • Jour 2 : 30’ footing + 15 x 100m (100%  VMA), récup  30’’  footing (les 100m se font en aller-retour)
  • Jour 3 : 1h10 footing + 2 x 10’ (80% VMA), récup 3’ de footing + 10’ footing

 Semaine 3 :

  • Jour 1 : 60’ footing
  • Jour 2 : 30’ footing + 3 séries de 7 x100m (100% VMA), récup 30’’ footing et entre les séries 3’ + 10’ footing à la fin
  • Jour 3 : 1h20 footing + 15’ (80% VMA) + 5’ footing + 10’ (85% VMA ) +10’ footing

Semaine 4 :

  • Jour 1 : 30’ footing
  • Jour 2 : 20’ footing + 10 X100m (100% VMA) récup. 30’’ footing
  • Jour 3 : 1h35 footing

 Semaine 5 :

  • Jour 1 : 60’ footing
  • Jour 2 : 60’ footing
  • Jour 3 : 1h30’ footing + 30’ (en accélérant progressivement de 70% de la VMA à 85% sur la fin) + 10’ de footing

 Semaine 6 :

  • Jour 1 : 1h20 footing
  • Jour 2 : 30’ footing + 7 x 300m (90% VMA) récup 1’ footing.+ 10’ footing
  • Jour 3 : 1h20 footing + 20’ (80% VMA) + 10’ footing + 15’ (85% VMA)+ 10’ footing

 Semaine 7 :

  • Jour 1 : 60’ footing
  • Jour 2 : 30’ footing + 3 séries de 7 x100m (100% VMA) récup 30’’( idem Jour 2 semaine 2) et entre les séries 3’ + 15’ footing à la fin
  • Jour 3 : 1h30 footing + 15’(80% VMA) + 10’ footing + 10’ (85% VMA) +10’ footing + 5’(90% VMA) +15’ footing

 Semaine 8 :

  • Jour 1 : 30’ footing + 20 X100m (100% VMA) récup. entre 30’’
  • Jour 2 : 1h15 footing
  • Jour 3 : 1h20 footing + 10 x 100m (100% VMA) récup 25″ footing +10 footing + 30’ ( en accélérant de 70% de la VMA à 85% de la VMA sur la fin) + 20’ footing

 Semaine 9 :

  • Jour 1 : 45’ footing
  • Jour 2 : 30’ footing + 12 X100m (100% VMA ) récup. entre 30’’ (les 100m se font en aller-retour)
  • Jour 3 : competition sur SEMI-MARATHON (echauffement footing lent 20’ + 5 x100m à 100% de la VMA récup 30″ en trottinant, récup après la compétition 15’ de footing)

 Semaine 10 :

  • Jour 1 : 45’ footing + 6 X100m (100% VMA) récup. entre 30’’ (les 100m se font en aller-retour)
  • Jour 2 : 60’ footing
  • Jour 3 : 60’ footing + 20’ (80% VMA)+ 20’ footing

 Semaine 11 :

  • Jour 1 : 45’ footing + 12 X100m (100% VMA) récup. entre 30’’ (les 100m se font en aller-retour)
  • Jour 2 : 45’ footing
  • Jour 3 : 50’ footing + 2 fois 10’ (80% VMA) 5’ footing entre les 2 fois + 10’ footing

 Semaine 12 :

  • Jour 1 : 20’ footing + 10’ (entre 80% et 85% de la VMA)
  • Jour 2 : COMPETITION MARATHON

Allumer sa tablette sur détection de mouvement

Nombreux sont ceux qui utilisent leur tablette pour piloter leur domotique. Seulement voilà, il faut réveiller la tablette pour accéder à son contenu, et pour les fainéants comme nous, c’est une manipulation de trop. Le sujet étant venu sur le tapis sur Google+, j’ai décidé d’écrire ce petit tuto en guise d’aide-mémoire, le but étant d’utiliser la caméra en façade de la tablette pour la réveiller automatiquement lorsqu’on s’en approche :

Vous aurez besoin de Motion Detector et de Secure settings.

Configuration de Motion detector :

Il vous faudra régler 2 choses dans motion detector : activer l’envoi de notification et la sensibilité.

image image image

En réglant la sensibilité et la résolution comme je l’ai fait, la portée de détection se limite à environ 50cm, ce qui est suffisant pour moi. En augmentant la sensibilité et la résolution, vous augmenterez la portée et la tablette se réveillera plus souvent.

Vous l’aurez compris, Motion detector utilise la caméra frontale de la tablette et enverra une notification à Tasker pour réveiller la tablette.

Vient ensuite la partie Tasker, très simple.

On crée un événement/système/intent received et on indique la commande envoyée par Motion detector :

image

… et enfin on indique la tâche qui va réveiller la tablette par le biais de secure settings :

Nouvelle tâche/plugin/secure settings, puis configurer secure settings de la façon suivante : actions/wake device/bright screen et précisez la durée de réveil que vous voulez :

image

Voilà, c’est terminé, il ne vous reste qu’à peufiner les réglages de sensibilité s’ils ne vous conviennent pas. Le système a tout de même une limitation, il ne fonctionne pas dans le noir… Mais rien ne vous empêche, par le biais de votre box domotique et d’un détecteur de mouvement (type Fibaro Motion Sensor) d’envoyer une commande à Tasker pour supplanter Motion detector.

Merci à Ma pomme pour son aide précieuse.

source : http://mapetitedomotique.tumblr.com/